When I have started development in React I thought: “Wow, what’s nice technology, everything is quite simple and easy to implement”. After 2 years of development with React, I have decided to start development with React Native. I considered it a great idea and it was! The same thoughts came to my mind about the simplicity and coolness of this solution: “One codebase for 2 platforms, this is awesome. I can’t wait how much time I will save for project implementations”. Yep, I know, future for me was like:

Well, the reality wasn’t kind to me. In those days RN version was around 0.48 and yes, it was way more stable than <0.48 versions but still installing, linking native libraries, debugging was hell for newbies. Two-platforms-approach(iOS and Android) as an opportunity transformed into the pain in the ass. Everyone has been there and everyone knows it. After some time, when I learned best practices React Native appeared to be a good choice for MVP’s and also enterprise products. There were no doubts that the RN team makes their best to bring a great framework to the community.
Ok, you may wonder why this intro is so long. Well, the reason is simple. With Bitrise and CI/CD processes, we have the same analogy. Everything should be great but it’s not and I guess that’s why you are reading this :)
Before we begin, you might need knowledge of:
Basics of (Here I won’t cover mechanism, I wanted to keep it simple. Maybe in future I will write a similar case with match functionality)
This tutorial will be based on:
React Native 0.71.6
Bitrise
Apple dashboard
Fastlane 2.212.1
You will need:
Apple Developer account and access as Admin/App manager
Mac OS
Bitrise account
Also, the purpose of this article is to make step-by-step deployment of our app to Testflight in Apple Connect with one-click in the Bitrise panel. I know it’s not 100% CD which we might want because we need full automated delivery at the end, however, it’s part I and II so I’m looking forward to extending this tutorial to cover all CI/CD cases 🙂. In part I, we will finish on fastlane local deployment and needed setup for Bitrise configuration.
To start, we need to set up everything in the Apple dashboard. Firstly we need the bundle id. Go to your dashboard and go to identifiers panel:

Let’s add our test bundle id:


Click continue and that’s all! We have our com.bitrise.workflow bundle id.
Next, we will need distribution certificates. Why distribution? Because we want to upload the build to Testflight.
To do this let’s go to the certs panel:

Let’s add our cert:

Here I have selected Apple Distribution but iOS Distribution is also fine. Later you will need to upload the CSR file. You can grab it simply and upload it here.
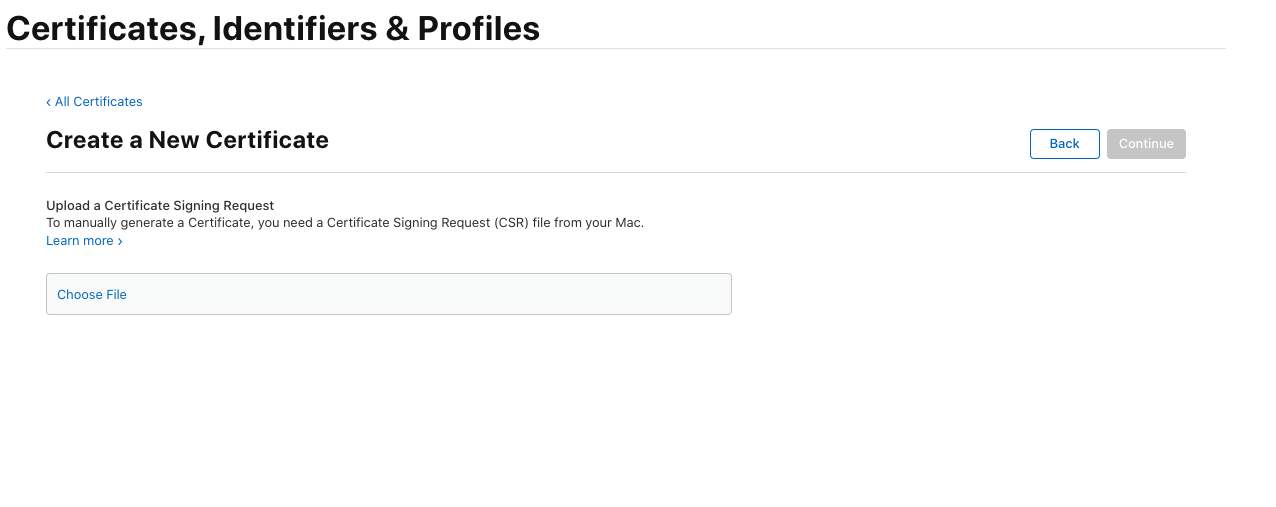
After uploading click Continue and you will be able to download your certificate. Execute it and delete it. After that, you will be able to use this cert in your local machine. Remember not to share this cert file publicly!
Okay, we have our bundle id and cert so we can now generate our provisioning profile (This tutorial won’t cover deeply explanation of profiles and certs. I recommend to read about it :) )
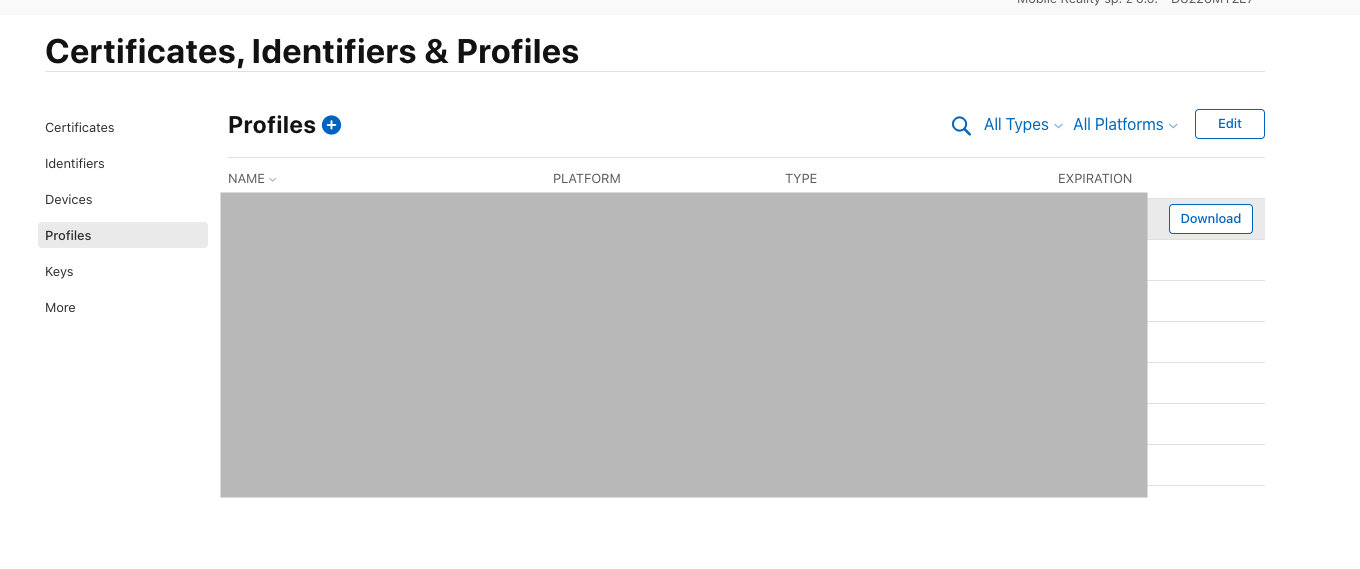
Click (+) button and in the first step select App Store:
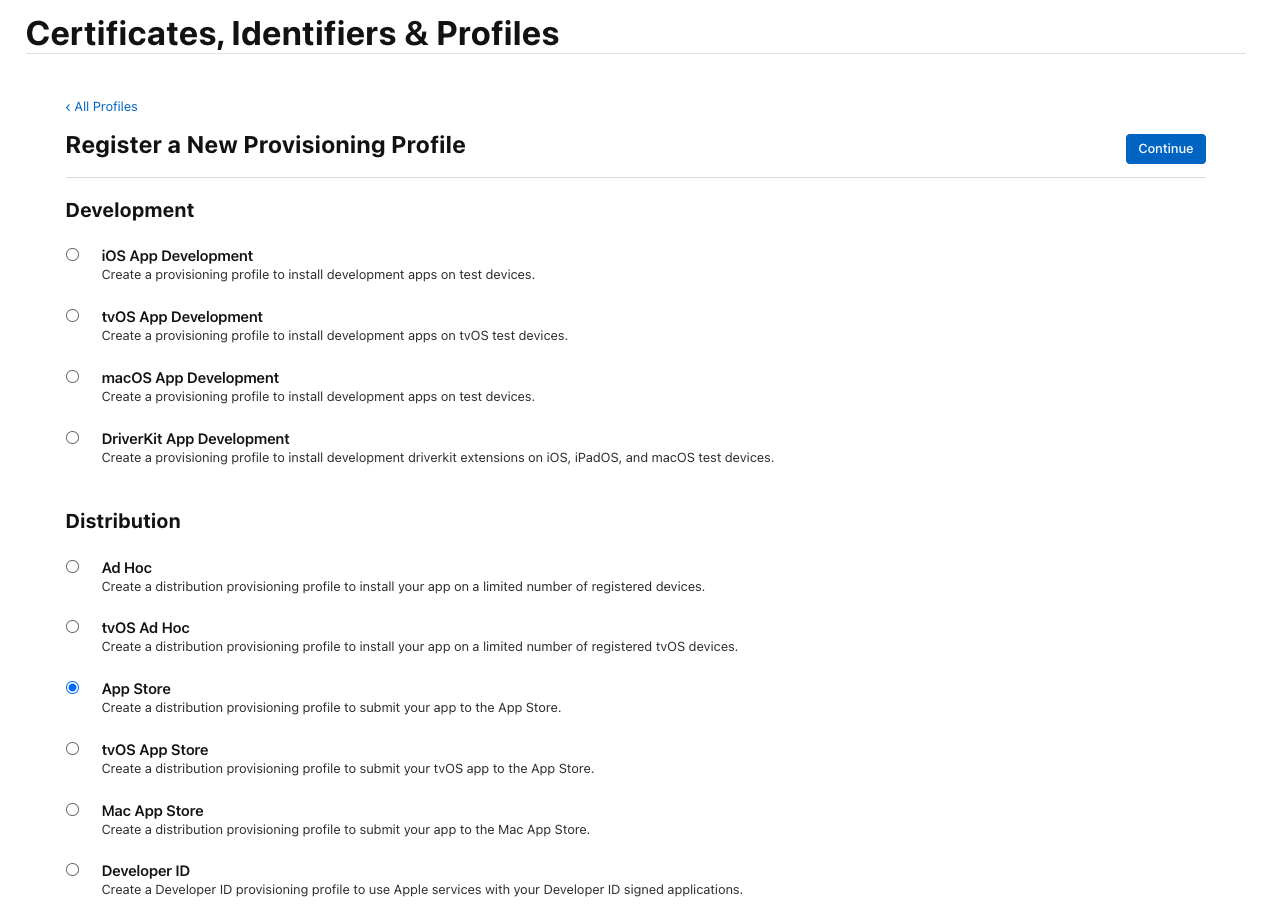
In the next step select our previously created bundle id:

In the following step check your distribution cert created in the previous steps and click continue:

Name your profile:

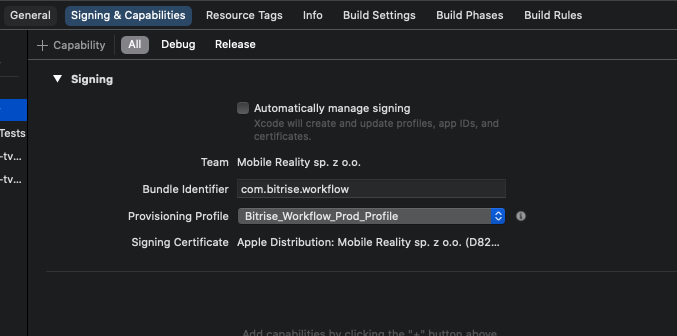
And we have it. Download it, store it (you will need it later), and execute to be able to use it locally. ( pay attention to the name: Bitrise_Workflow_Prod_Profile, we will use this name later )

To finish our apple dev super activities we need to create an app in the apple store:

Set all correct values and click Create and we are done!

Great! We have our app so we are ready to deploy something there. Let’s create our RN app. We will be using a simple CLI tool provided by the RN team:
npx react-native init BitriseWorkflow
And we have our project set up.

Of course, we are not finished yet. We need to check bundles and change them. In iOS it’s quite simple. Go to XCode and change bundle id into proper value:

Ok! We have everything that we need from the config side. Let’s go to the fastlane specifics.
Firstly, initialize the fastlane in the project by:
cd ios && fastlane init
You should see following options:

Pick the 4th option as we do everything manually. After choosing you will see some instructions, just skip by hitting the enter button. Now we can set our fastlane file. To do the build deployment to our Testflight we need to be authorized with Apple so we need an account. For this case, we will create and use an account that has proper access.
Additionally, we will be using manual signing for now(to simplify the process) so remember to uncheck automatic profile provisioning and select the proper downloaded profile:
Remember, If you would like to upload builds into TestFlight then you will need to have all app icons set. Otherwise, you will see the following error:
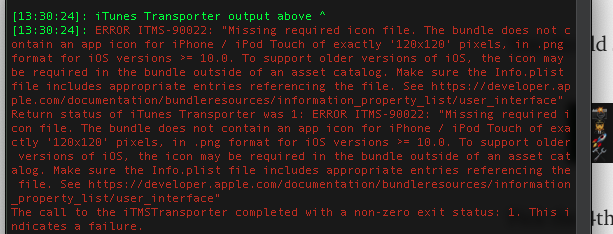
Ok, you have initialized fastlane and created the correct apple account. At this moment we can set our lane(in {root}/ios/fastlane/Fastfile), it will be something like this:
default_platform(:ios)
path_build = './outputs/build/'
account = 'XXXXXXX@XXXX.pl' # here should be your apple account
app_identifier = 'com.bitrise.workflow'platform :ios do
  desc "Sending build to TestFlight"
  lane :beta do
    gym(
        scheme: "BitriseWorkflow",
        export_method: "app-store",
        export_options: {
          provisioningProfiles: {
            app_identifier => "Bitrise_Workflow_Prod_Profile" # here should be a name of your provisioning profile
          }
        },
        output_directory: "#{path_build}",
        configuration: "Release",
    )
    upload_to_testflight(
      username: "#{account}",
      ipa: "#{path_build}BitriseWorkflow.ipa",
      app_identifier: "#{app_identifier}",
      skip_waiting_for_build_processing: true,
    )
  end
end
In the fastlane documentation you should be able easily to find out what is behind these methods 🙂. Great! Now you can type in the console from the ios directory:
fastlane beta
And after some time, success building, uploading then … spoiler alert! Failure! 🙁
Yes, welcome in reality. It can’t be that easy. We haven’t configured our session with apple yet. In the past, Apple hasn’t required much: only account email and password but now it’s different. Nowadays we need to struggle with 2FA, which is great ofc, but we can’t switch this off for new accounts!. I assume that you do not have any old account created before February 27th, 2019 with tricky-smash-2fa-off-authorization. Don’t worry we will handle it. Fastlane gives us a pretty clear solution for that.
Okay, step by step. We should start with an app-specific password. Go to https://appleid.apple.com/account/manage and generate your password:

After generation, copy that password and store it somewhere. We will be using it later. Now we need to create a session. To do this type this command:
fastlane spaceauth -u XXXX@mobilerealty.pl
It will ask for a 2FA code. After proper authorization, it will result in the session which we will be using later in Bitrise. It should look like this:
!ruby/object:HTTP::Cookie
name: ...(looong content here)... :07.406757000 +01:00
accessed_at: *2
Ok, we have our auth keys. Now we will be able to use it locally(for local deployment we can type 2FA in the console so the session isn’t needed here).
Type in the console:
export FASTLANE_APPLE_APPLICATION_SPECIFIC_PASSWORD='YOUR_PASS'
check if needed:
echo $FASTLANE_APPLE_APPLICATION_SPECIFIC_PASSWORD
it should result in your specific password.
Now you can run our lane:
cd ios && fastlane init
After some time you should be able to see this message:

Nice! We have done it! We have working fastlane build uploading in our local machine.

In Part II, we will use the whole thing to make the proper workflow in Bitrise!
Mastering Mobile Development with React Native
In the fast-paced world of mobile app development, React Native stands out as a key player for building versatile and efficient applications. At Mobile Reality, we're not only experts in crafting complex UIs and integrating advanced features like biometrics authentication with React Native, but we're also adept at navigating the nuances between it and other frameworks like Flutter and Xamarin. Dive into our wealth of knowledge:
React Native vs. Flutter vs. Xamarin: A Comparative Analysis
Cross-platform vs native app development: Ultimate Comparison
React Native Select Pro Docs - self-made open-source library for React Native developers
For those considering the development of a mobile app and weighing the benefits of a web app against a native app, our sales team is available to provide expert advice tailored to your specific needs. Additionally, if you're passionate about crafting cutting-edge mobile applications and looking to take the next step in your career, explore our current job offerings on our careers page. Join us in leading the mobile development scene with React Native and beyond.


